
How to Make Compost at Home for Crops (Step by Step)
Turn farm waste into free fertilizer: here is exactly how to make compost at home for crops, from building the pile to spreading it in the field.
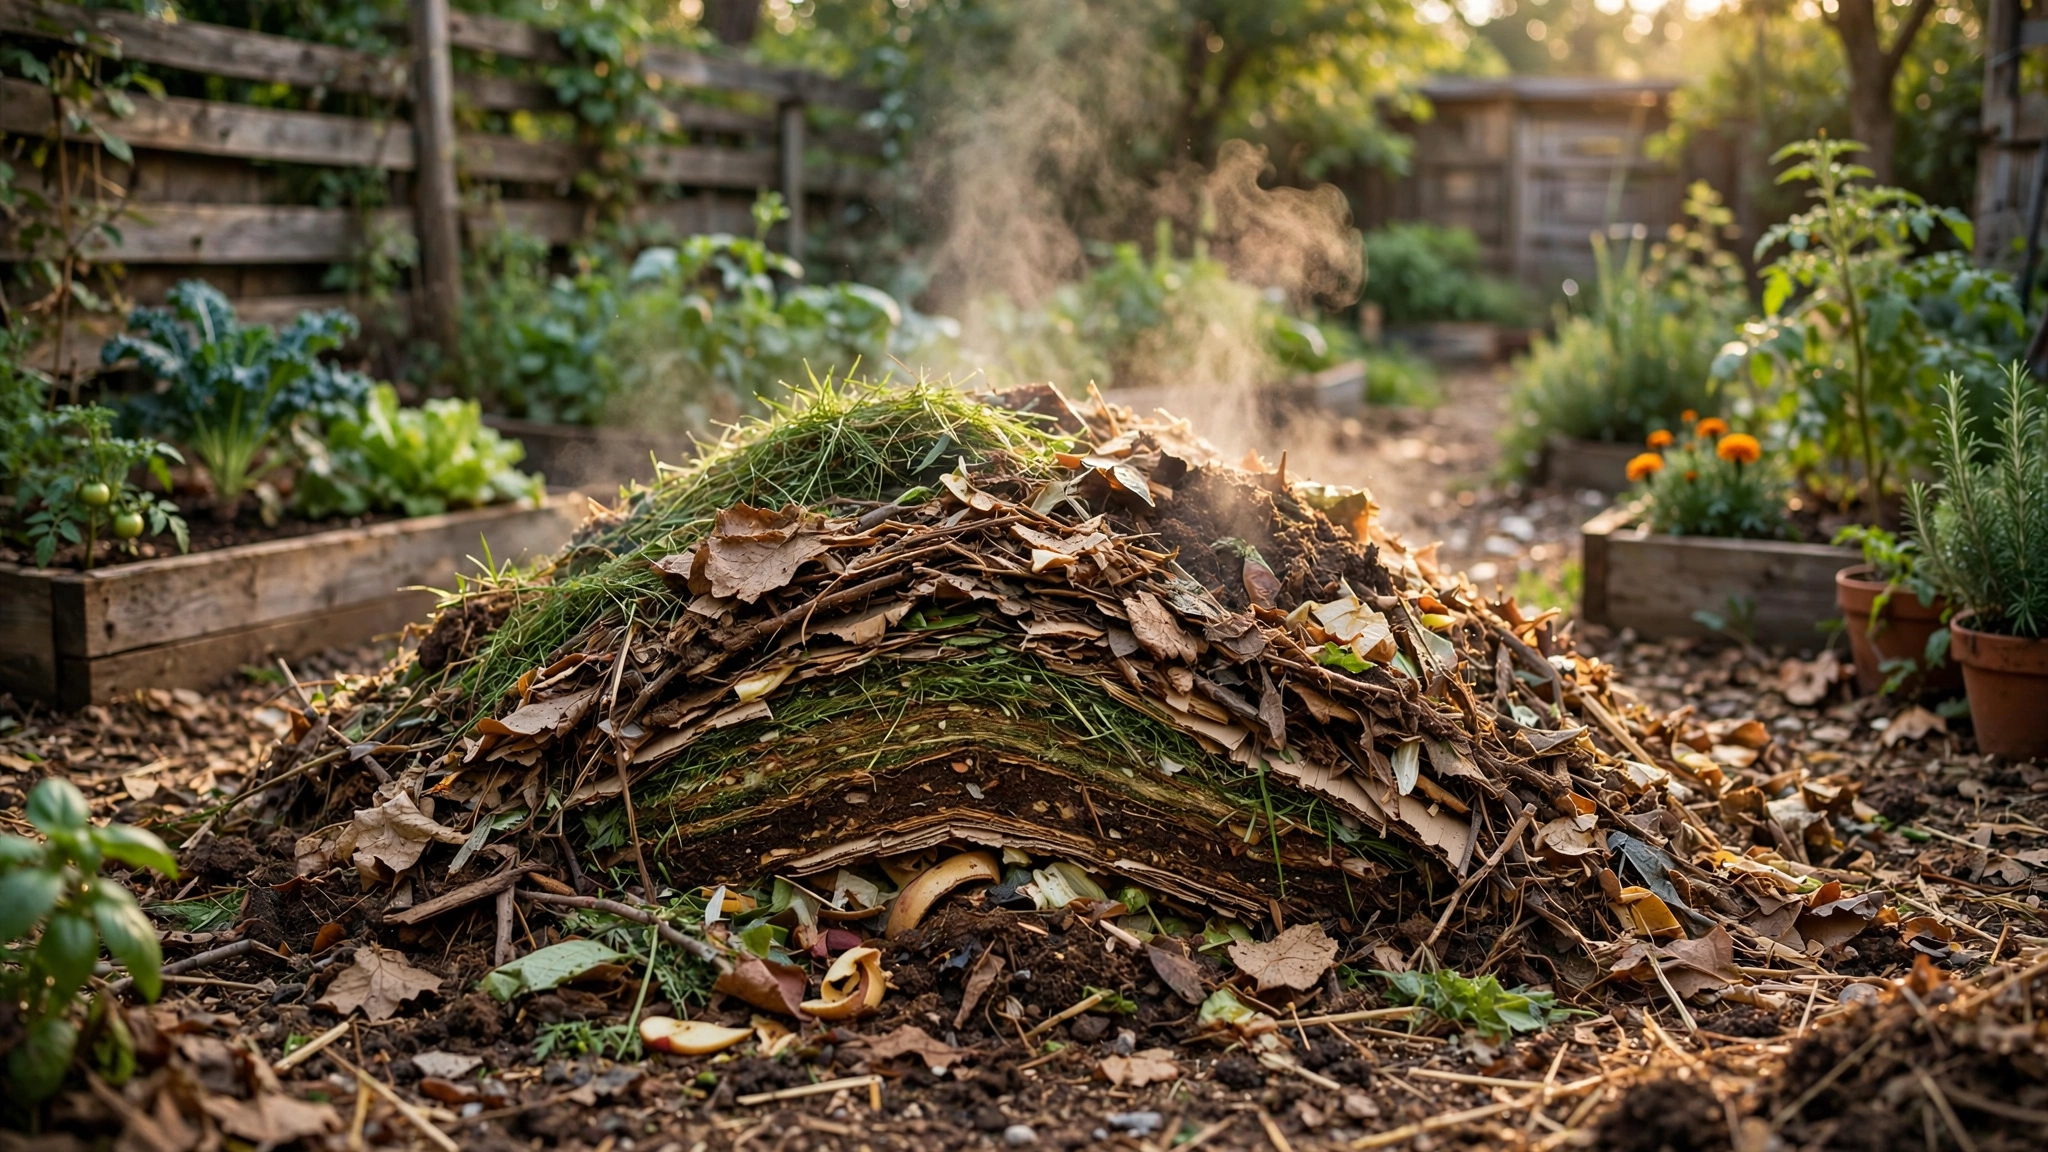
Learning how to make compost at home for crops comes down to one simple recipe: mix roughly three parts dry browns with one part fresh greens by volume, keep the pile as moist as a wrung-out sponge, turn it every two to three weeks, and in typically two to four months you will have dark, crumbly compost ready for the field. Everything below is just the detail that makes that recipe work reliably.
Compost is decomposed organic matter, and for crops it does two jobs at once. It feeds the crop slowly as nutrients release during breakdown, and it feeds the soil itself, improving structure, water-holding, and biological activity. Be honest with yourself about its limits, though: compost is a wonderful supplement and soil builder, but on hungry crops it rarely replaces mineral fertilizer entirely. The best results come from combining the two.
Setting up the pile
Start by picking the spot. Choose a shaded, well-drained corner near a water source, on bare soil rather than concrete, because contact with the ground lets microbes and earthworms move into the pile. Keep it a reasonable distance from the house and from wells or drinking-water sources, since a working pile can smell a little in its early weeks.
Gather your materials in two groups. Greens are fresh, moist, nitrogen-rich things: green leaves, fresh grass clippings, vegetable and fruit scraps, tea waste, and animal manure such as cow dung. Browns are dry, carbon-rich things: dry leaves, wheat or rice straw, dry crop stalks, shredded cardboard, and sawdust in small amounts. Keep out meat, dairy, oily cooked food, diseased plants, weeds gone to seed, and glossy printed paper.
The carbon-to-nitrogen balance sounds technical but is simple in practice. Microbes burn carbon for energy and need nitrogen to build their bodies. A pile of only greens turns slimy and stinks of ammonia; a pile of only browns just sits there for months. The rough rule of three parts browns to one part greens by volume keeps the microbes happy, and you will soon learn to judge it by look and smell.
Build the pile in layers. Start with a loose base of coarse browns like straw or twigs for airflow, then alternate greens and browns, watering each layer lightly as you go. Aim for a pile around one cubic metre, roughly waist-high. Smaller piles still compost, but they lose heat faster and take noticeably longer.
Managing moisture, air and heat
Moisture is where most home piles fail. Grab a handful and squeeze: a few drops of water should appear, like a wrung-out sponge. Too dry and decomposition stalls; too wet and air is squeezed out, the pile turns anaerobic, and the smell turns foul. Water during dry spells and cover the top during heavy rain.
Turn the pile every two to three weeks by forking the outer material into the centre and the centre outward. Turning feeds oxygen to the microbes and is the single biggest difference between compost ready in two months and compost ready in six. If turning the whole pile feels like too much work, even turning it once a month helps a lot.
A working pile heats up within a few days, often feeling distinctly warm when you push your hand in. That heat is microbial activity, and it is also what kills many weed seeds and pathogens. Do not worry about exact temperatures. If the pile cools down while materials are still recognisable, it usually just needs water or a turn.
Troubleshooting and checking maturity
Learn the three classic problems and their fixes. A rotten-egg smell means too wet or compacted, so turn it and mix in dry browns. No heat at all usually means too dry, too small, or too many browns, so water it and add greens or manure. Flies hovering around mean fresh scraps are exposed, so bury them under a layer of browns.
You will know the compost is mature when it is dark brown to black, crumbly, smells pleasantly earthy, and you can no longer recognise the original materials. A handy maturity check is the bag test: seal a handful in a plastic bag for three days, then open it. A sour or ammonia smell means it needs more time; an earthy smell means it is done.
Using compost and avoiding mistakes
Apply finished compost before sowing or transplanting and mix it into the top few centimetres of soil so roots can reach it. It shines in vegetable beds and nurseries. Field application rates vary widely by crop and soil, so ask your local agriculture extension office for a number rather than guessing. Never apply immature, still-heating compost close to seeds or seedlings.
The common mistakes are all avoidable. Spreading fresh, undecomposed manure directly on a standing crop can burn young plants and carry pathogens. Composting diseased tomato or potato plants can carry the disease back to next season's crop. Letting the pile dry out completely for weeks stalls everything. And expecting compost alone to carry a heavy-feeding crop usually ends in pale, hungry plants.
Think of compost as one leg of a three-legged stool: compost for soil health, a soil test to know what the field holds, and mineral fertilizer for the precise nutrient dose the crop needs. Run your soil-test figures through our /calculator to work out the exact mineral dose after crediting your organic inputs, check nutrient contents in the /fertilizers library, and browse the /faq page for more practical answers.