
How to Take a Soil Sample for Testing (Step-by-Step Guide)
A bad sample gives a misleading report. Here is exactly how to take a soil sample for testing: tools, depth, spots, mixing, and labelling, step by step.
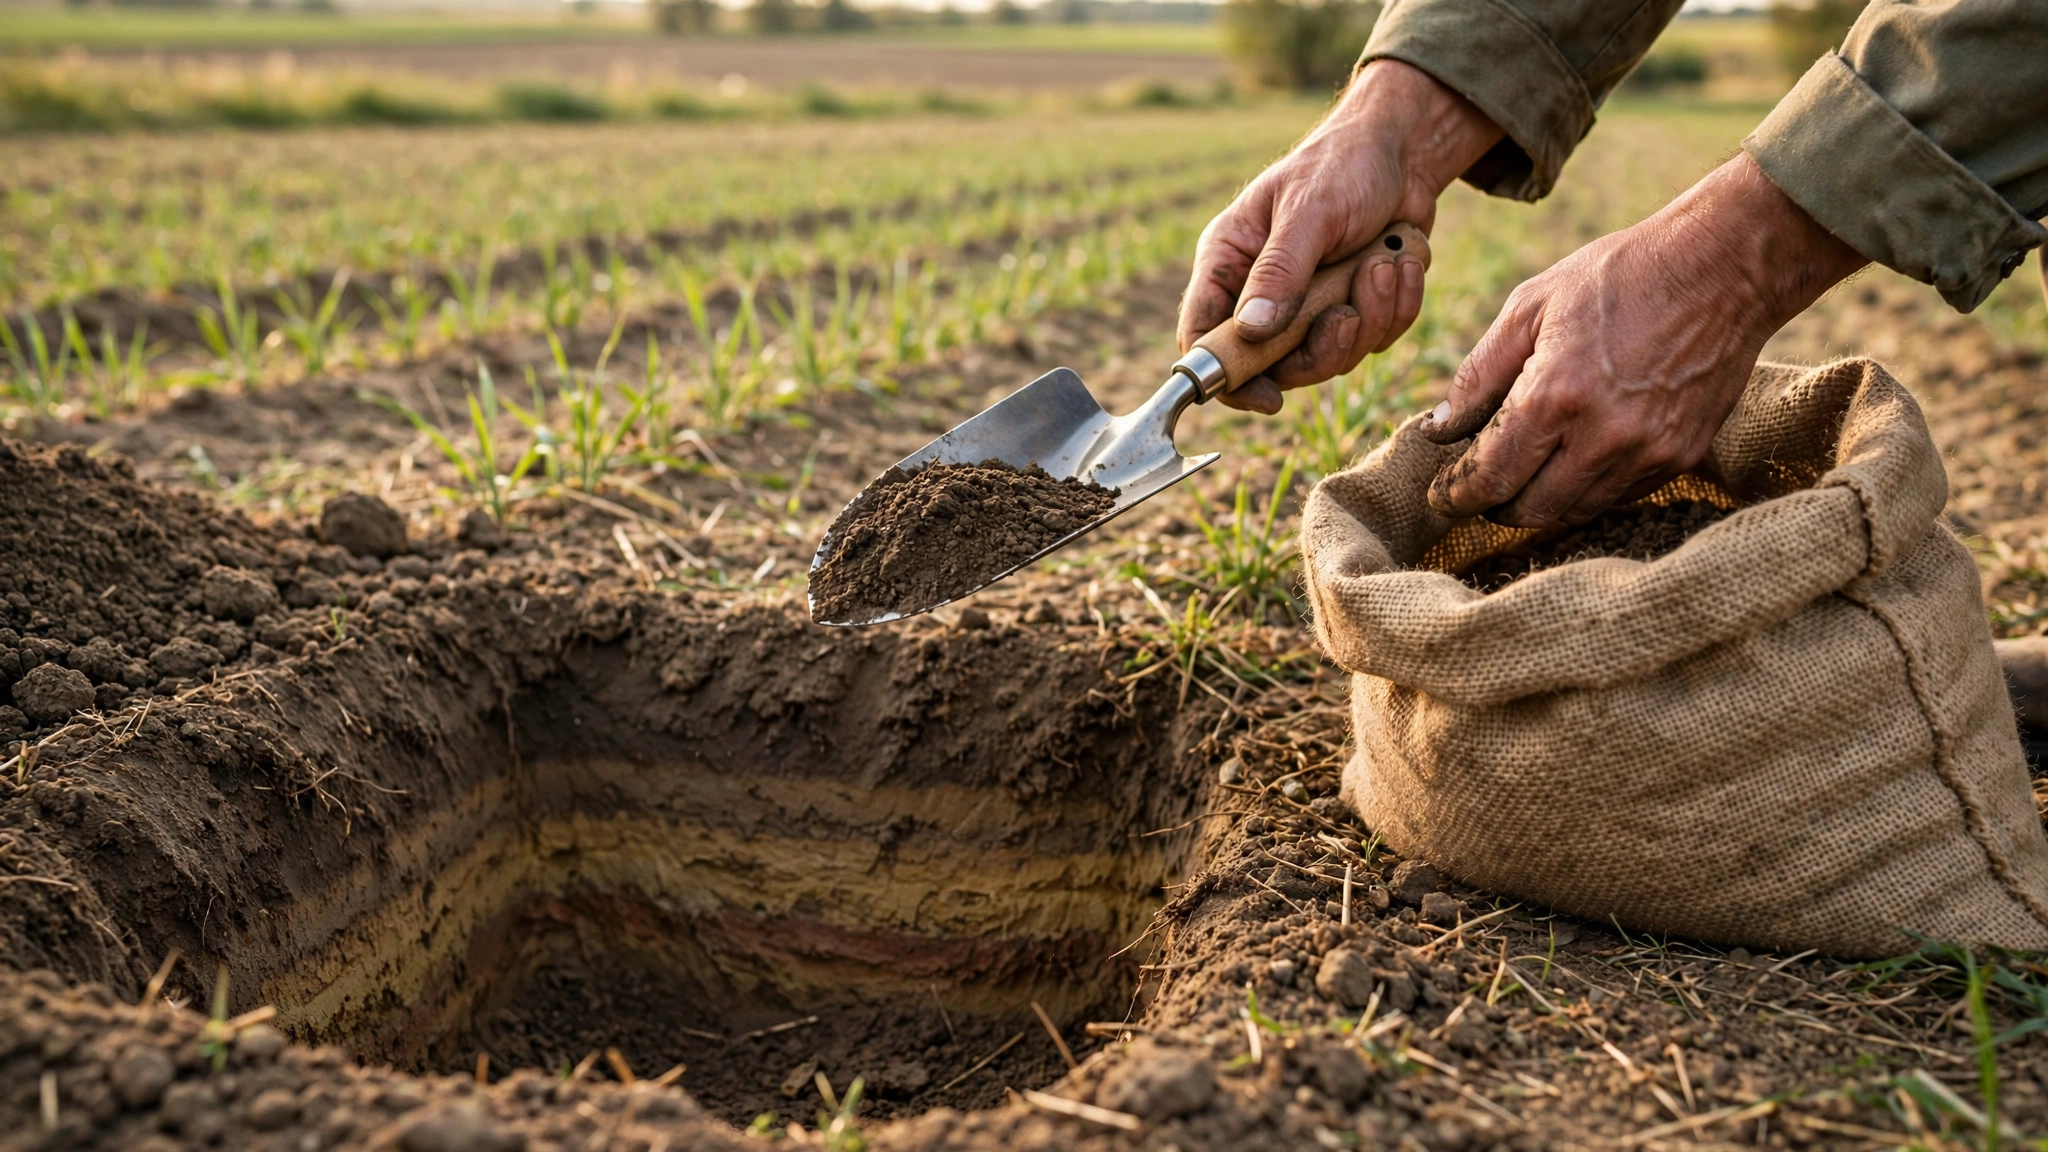
Here is how to take a soil sample for testing in one paragraph: sample each uniform part of the field separately, take six to eight cores at zero to fifteen centimetres depth in a zigzag pattern while avoiding odd spots, mix them thoroughly, reduce the mixture to about half a kilogram, label the bag clearly, and send it to the lab. The rest of this guide explains each step so the report you get back is actually worth acting on.
The procedure matters because the laboratory can only test what you send. Fertilizer decisions worth many bags per acre rest on that half-kilogram of soil, so a careless sample, one scoop from beside the manure heap, can mislead you for a whole season. Fifteen careful minutes in the field is the cheapest input in all of fertilizer management.
When and what to gather
Time it right. Sample a few weeks before sowing so the results arrive in time to plan fertilizer purchases. For fields you farm continuously, testing every two to three years is enough to track trends. Just after harvest is a convenient window. Avoid sampling soon after applying fertilizer or manure; wait a few weeks so the report reflects the soil rather than the fresh application.
Gather simple, clean tools: a spade, khurpa, or soil auger; a clean plastic bucket, never a used fertilizer bag, because residues contaminate the sample; clean cloth or polythene bags for the final sample; and a marker for labelling. Wash the bucket and tools if they have touched fertilizer or manure before.
Dividing the field and walking it
Divide the field before you start. Areas with different soil colour, slope, drainage, past cropping, or management history should be sampled separately, because one bag cannot represent two different soils. A low patch and a high patch, or the part that always grew wheat versus the part that grew vegetables, each deserve their own sample and their own report.
Walk the sampling zone in a zigzag and take six to eight spots spread across it. The zigzag keeps you honest: it stops you from sampling only the convenient edge near the path, which is rarely representative of the field.
Deliberately skip the unusual spots: field bunds and edges, old manure heaps, compost pits, the shade under trees, places where animals gather, gateways, and waterlogged patches. These spots are richer or poorer than the field average and would distort the result.
Taking, mixing and reducing cores
At each spot, scrape away surface litter, stones, and surface vegetation first. Then dig a clean V-shaped hole to fifteen centimetres and take a uniform slice from the top to the bottom of the cut. The zero to fifteen centimetre layer is the plough layer where most crop roots feed, which is why it is the standard depth for field crops. For orchards, laboratories sometimes advise deeper sampling, so ask when you submit.
Tip all the cores into the bucket, crumble the lumps, and mix thoroughly by hand. Pick out stones, roots, and undecomposed plant bits. Then reduce the bulk: spread the soil, divide it into quarters, discard two opposite quarters, remix, and repeat until about half a kilogram remains. This quartering method keeps the final sample representative of the whole mixture.
Labelling and lab requests
Pack the reduced sample in a clean bag and label it immediately: your name, a field identification you will recognise, the sampling date, the crop you plan to sow, and the previous crop. Keep the bag cool and dry on the way to the lab. If the soil is dripping wet, let it air-dry in shade on a clean surface before bagging, so it does not ferment in transit.
At the lab, ask for the basics at minimum: pH, electrical conductivity, organic carbon, and available nitrogen, phosphorus, and potassium. Where the lab offers it, add zinc and other micronutrients. Also ask the lab staff to explain the fertilizer recommendation on the report; a number you do not understand is a number you will not use.
Mistakes to avoid and using results
The classic mistakes are worth memorising. Sampling a single spot and calling it the field. Scooping near a manure heap. Carrying the sample in a fertilizer bag. Sampling the week after top-dressing urea. Mixing two different fields into one bag to save a fee, which produces a report that fits neither field. Each of these is common, and each is completely avoidable.
When the report comes back, put it to work instead of filing it away. Feed the nutrient figures into your dose calculation so you buy only what the soil lacks; that is the whole point of soil-test-based fertilizer use. Keep old reports too: comparing them over the years shows whether your phosphorus is building up, your organic matter is improving, or your pH is drifting.
A good sample turns a lab report into money saved and yield protected. Take your soil-test numbers to our /calculator and work out the precise dose the field needs, look up what each fertilizer actually contains in the /fertilizers library, and find more step-by-step guidance on the /faq page.